masking in photoshop
Nahee’s Face filter app
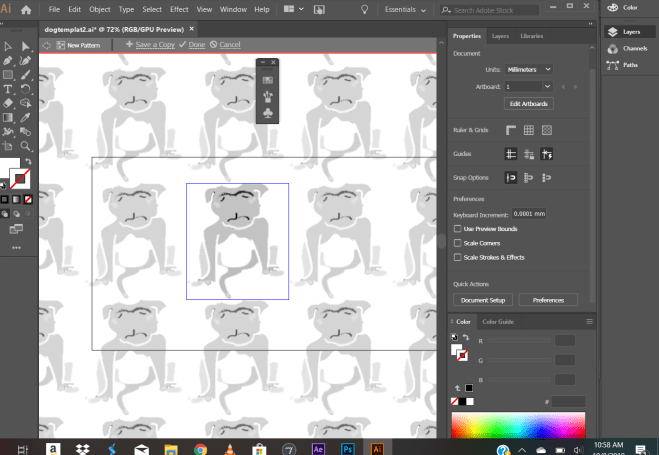
Designing patterns in Illustrator
Installing fonts into illustrator for Mac and Windows
Windows
Step 1
Download or transfer the font file of your choice to your computer desktop.
Step 2
Navigate to the control panel by clicking the “Start” button, then “Settings,” then “Control panel.” Alternately, depending on your version of windows, click the “Start” button, then choose “Settings.”
Step 3
Open the “Fonts” folder from within the control panel and select “File,” then “Install New Font.” Choose the font file you have saved to your desktop in the file open dialog box that pops up.
Click “OK” to install the selected font.
Mac
Step 1
Download or transfer the font file of your choice to your computer desktop.
Step 2
Navigate to the “Library/Fonts” folder when logged in as the administrator to make your fonts accessible able to all users on the computer.
Copy or drag the downloaded font files into the open “Font” folder to install the font.
Tip
- If you do not have administrator rights on your Mac, navigate to the “Users/Library/Fonts” folder to install a font for a single user.
Items you will need
- Font files
Exam 1 study guide
Design Vocabulary
Intro to CSS
Powerpoint:
In class files:
https://drive.google.com/drive/folders/1D1kpNYXWi8ZSK38DX8_s3xtrmukv61vi?usp=sharing
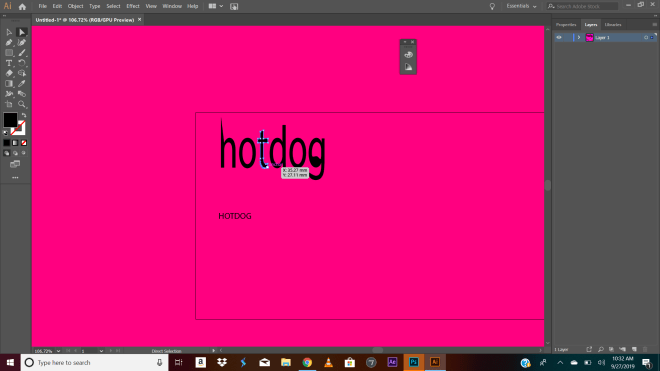
more tools in illustrator
Two Methods for Aperture adjustment in Photoshop
Method 1: Select the aspect of the image you wish to be foregrounded, select into new layer using quick selection tool. Return to background layer, using the “filter” menu in Photoshop, use the blur tool and slider to blur and adjust the background.
Method 2: use the “iris blur tool and adjust, less precise as first method.


